
15 Creative DIY Sandbox Ideas for Kids
If you’re looking for a fun way to keep the kids entertained outdoors, building a DIY sandbox is a perfect project! It’s simple, affordable, and offers endless opportunities for creativity and play. Plus, kids love digging, sifting, and building in a sandy space just for them. Let’s get started on crafting this backyard highlight!
Fun Additions: Toys and Tools for Sandbox Play
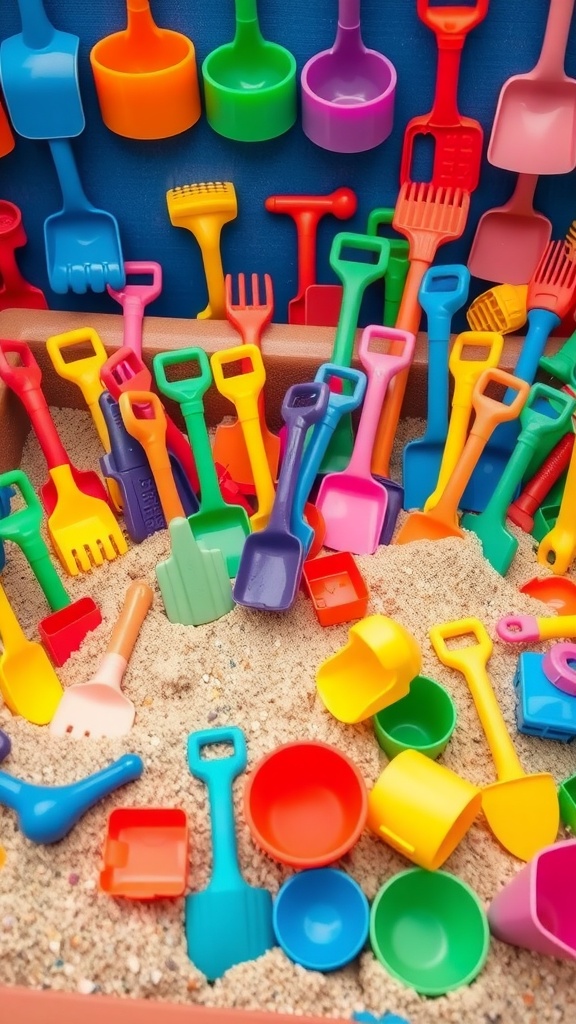
A sandbox can be a magical place for kids. To make it even better, adding colorful toys and tools opens up a world of fun. The image shows a vibrant collection of shovels, buckets, and other playful items waiting to be used in the sand.
Brightly colored shovels in various sizes help kids dig and create. Each tool can spark creativity, from building castles to shaping unique designs. There are even small rakes and scoops, perfect for fine-tuning those sandy masterpieces.
Including tools like molds or trucks can also enhance playtime. Kids can easily transport sand or create fun shapes. Having a variety of options keeps their imaginations active and makes every visit to the sandbox exciting.
Don’t forget about safety! Make sure the toys are age-appropriate and free from sharp edges. This way, kids can play freely and safely.
Incorporating Drainage for Rainy Days
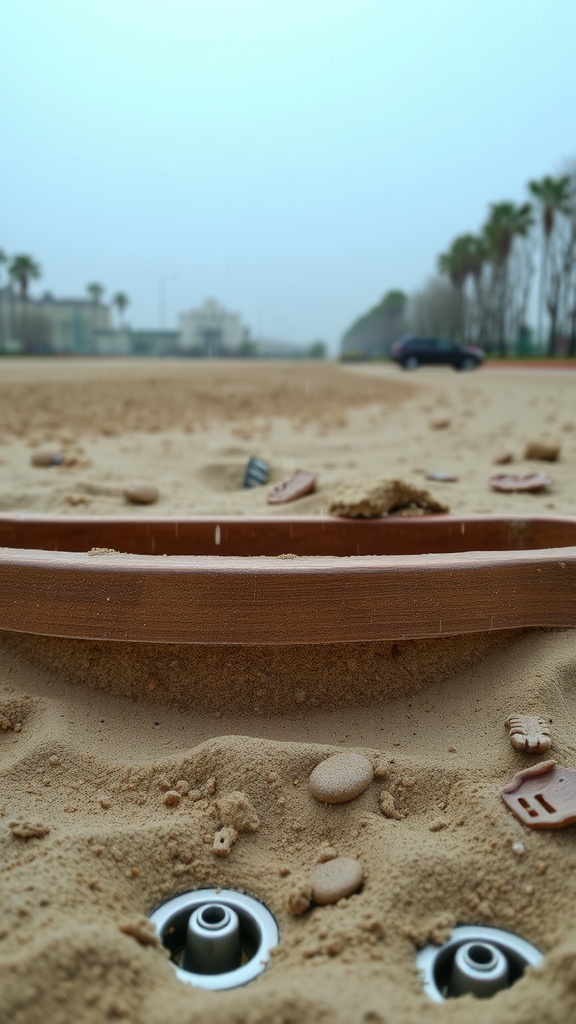
Building a DIY sandbox can be a fun project for you and your kids. One important part is making sure it has proper drainage. This way, when it rains, the water can escape rather than pooling up. The image shows a sandbox with drainage holes, ensuring that even on wet days, it remains a play area instead of a muddy mess.
When setting up your sandbox, consider adding a layer of gravel at the bottom. This layer will help water flow away. The drainage holes, visible in the image, are crucial for keeping the sand dry and inviting for play. You don’t want to end up with a soggy sandbox!
To keep the sand clean, you can also cover the sandbox when it’s not in use. This simple step protects it from rain and debris. With a little planning, your kids can enjoy their sandbox, come rain or shine!
Customizing the Sandbox Size for Your Space
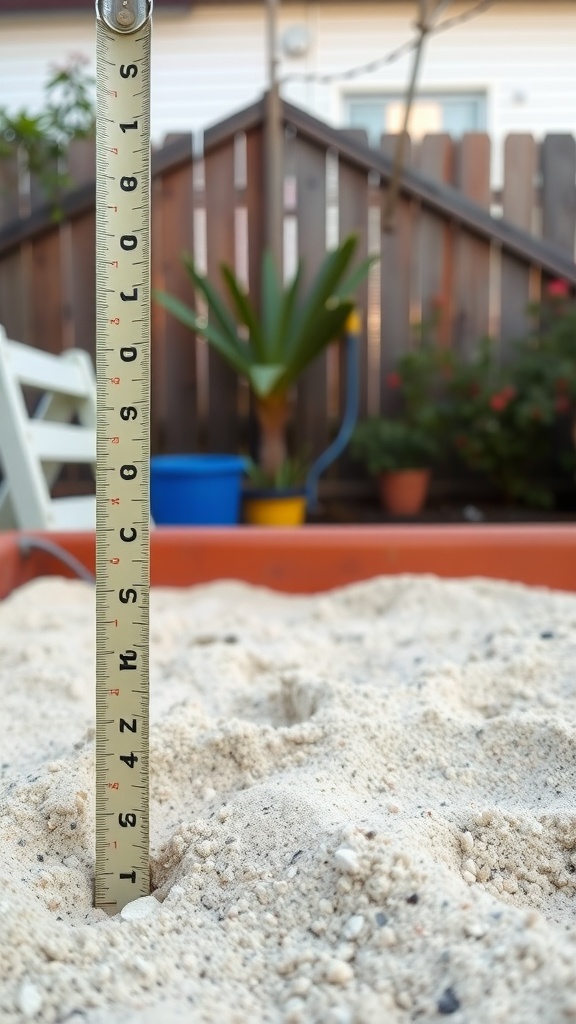
Building a sandbox is a fun project for kids, but figuring out the right size is key. The image shows a measuring tape in the sand, indicating the depth and space you might want for your sandbox. You can use this to pick the perfect dimensions for your yard.
Start by thinking about how much space you have. If you’re in a small backyard, a smaller box can fit nicely. A 4×4 foot area might work, offering plenty of room for little hands to dig. For larger spaces, you might go bigger, like 6×6 feet, allowing more kids to play at once.
Depth is important too. The photo shows a measurement that suggests a good depth for the sand, usually around 6 to 12 inches. This gives kids enough material to create and build without the risk of running out of sand too quickly.
Consider your family’s needs. If you have multiple kids or plan to invite friends over, a larger sandbox could be better. On the flip side, if it’s just for a couple of kids, keeping it smaller can make it easier to manage.
Materials Needed for Building a Sandbox
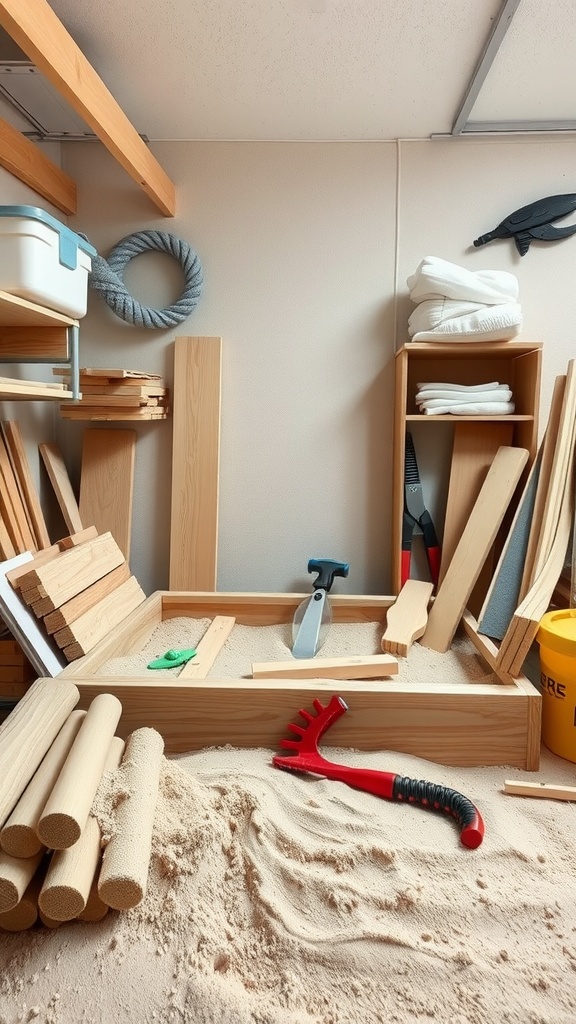
Creating a sandbox for kids is a fun project that requires a few basic materials. In the image, you can see some of the items you might need. A variety of wood pieces are laid out, ready to be assembled into a sturdy frame. You’ll want to choose wood that can withstand the elements, so pressure-treated lumber is a great option.
In addition to wood, having some tools handy is essential. A shovel can help with digging out the area for the sandbox, while a rake can smooth out the sand once it’s in place. The image shows a rake with a red handle, perfect for this job.
Don’t forget about the sand itself! You’ll need plenty of clean, play-grade sand to fill the box. Look for sand that is safe for kids to play in, as some types can contain harmful materials.
Finally, consider adding a tarp or cover. This helps keep the sand clean and dry when not in use. Overall, gathering these materials will set you up for a successful sandbox project!
Adding a Lid for Protection from the Elements

A sandbox is a fantastic addition to any backyard, offering kids a place to play and get creative. However, protecting that sandy paradise from the elements is key to keeping it clean and safe for little ones.
The image shows a beautifully crafted sandbox with a sturdy lid. This lid is perfect for shielding the sand from rain, leaves, and unwanted critters. Using a lid also helps keep the sand dry, which is especially important if you live in a wet climate.
When designing your sandbox, consider making a hinged lid. This allows for easy access while still providing the protection needed when it’s not in use. The vibrant blue color of the sandbox in the image adds a playful touch, making it visually appealing for children.
With a secure lid, parents can rest easy knowing their kids will have a clean, welcoming space to play whenever the mood strikes. Plus, it encourages kids to help when it’s time to close up the sandbox, teaching them responsibility while having fun.
Selecting Safe and Non-Toxic Sand
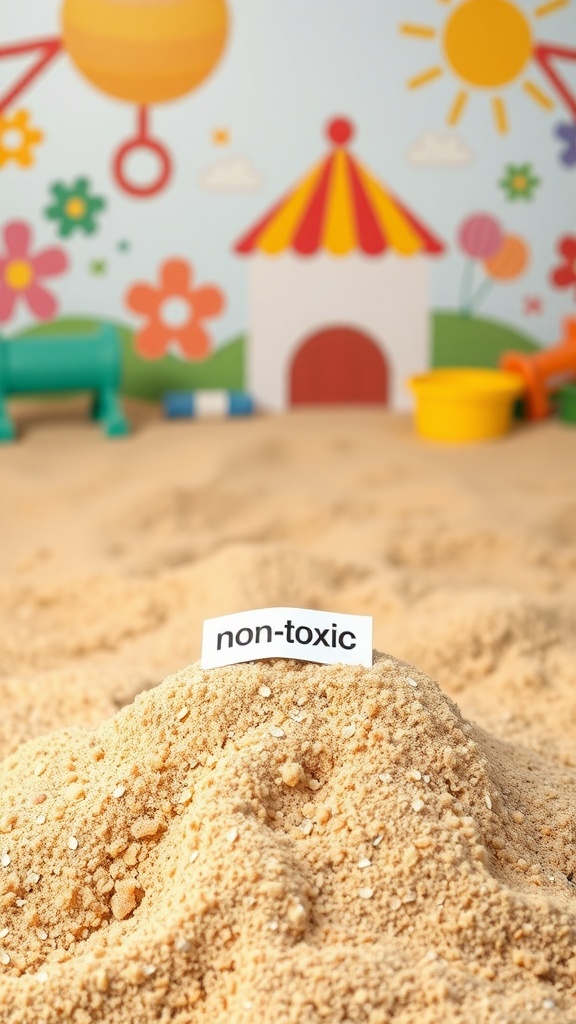
When building a DIY sandbox for kids, choosing the right sand is key to ensuring a safe play environment. The image shows a mound of sand with a label that reads ‘non-toxic.’ This is an important indicator that the sand is safe for children to play with.
Regular sand can contain harmful chemicals or contaminants. So, always look for sand that is specifically labeled as non-toxic. This ensures it is safe for little hands and mouths, as kids often explore their world through touch and taste.
Another tip is to opt for sands made from natural materials. These types of sand are less likely to have additives that could pose health risks. Look for options that are dust-free, as this reduces the chance of respiratory issues.
Also, consider the color of the sand. Some brightly colored sands might look fun, but they could contain dyes that aren’t safe. Always stick to natural colors to keep playtime worry-free.
Lastly, it’s always a good idea to check reviews or product descriptions. Other parents often share helpful insights about the safety and quality of the sand they used. This way, you can make an informed choice for your child’s sandbox.
Step-by-Step Instructions for Constructing the Frame
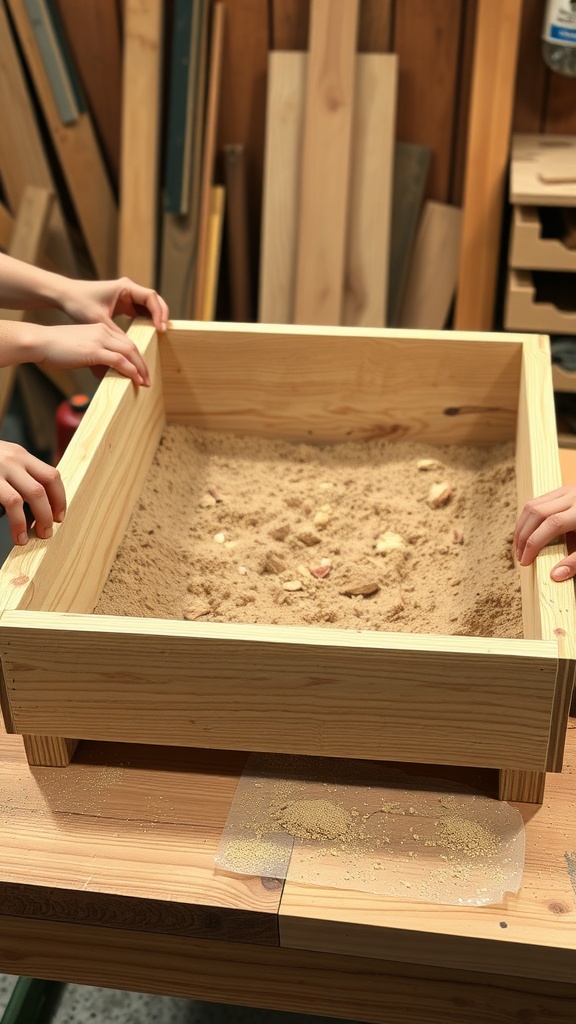
Building a sandbox frame can be a fun project that brings joy to your kids. In the image, you see a simple wooden frame ready to be filled with sand. The frame is constructed from smooth, sturdy wood, providing a safe play area for little ones.
Start by gathering your materials. You’ll need some untreated wood planks, screws, wood glue, and sand. Lay out your pieces to visualize how they will fit together. The frame should be large enough for the kids to play comfortably.
Next, measure and cut the wood to your desired dimensions. A standard size could be around 4 feet by 4 feet, but you can adjust based on your space. Remember to sand the edges for safety, ensuring there are no sharp spots.
Assemble the frame by connecting the corners with screws. Using wood glue can add extra support. Once the frame is put together, place it where you want it in your yard. Make sure the ground is level.
Finally, fill the frame with clean, dry sand. This will create a perfect playground for the kids. Don’t forget to keep an eye on the sandbox and refill the sand when needed.
Choosing the Right Location for Your Sandbox
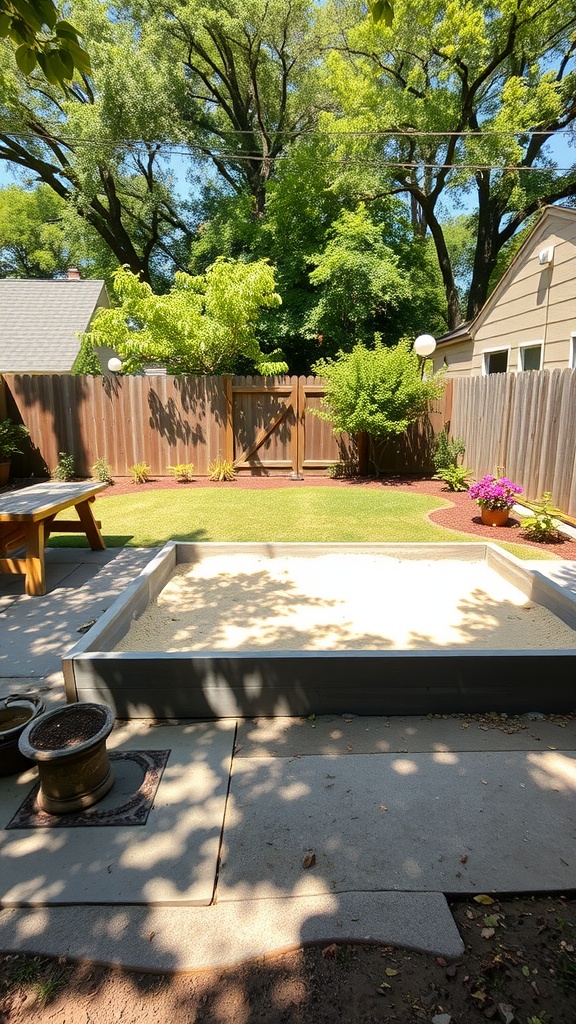
Finding the perfect spot for your sandbox is key to enjoying sunny days filled with fun. The image shows a well-placed sandbox in a cozy backyard, surrounded by lush greenery and a friendly vibe. The soft, sandy area invites kids to dig and create, while the nearby shaded trees offer a nice break from the sun.
When choosing a location, look for level ground. This helps keep the sand in place and makes it easier for kids to play. You’ll also want to think about accessibility. Is it close to your home for easy supervision? The setup in the image shows a clear path, making it convenient for kids to come and go.
Don’t forget about safety! Ensure the area is free from debris or sharp objects. You can see how the surrounding plants and flowers add a touch of nature while keeping the sandbox area neat and tidy. A fenced-off area can also provide a sense of security.
Lastly, think about sunlight. A mix of sunny and shaded spots can make playtime comfortable. In the image, the sandbox enjoys warm sunlight, while nearby trees provide refreshing shade when needed. All these elements together make for a delightful play area!
Creating a Themed Sandbox Experience
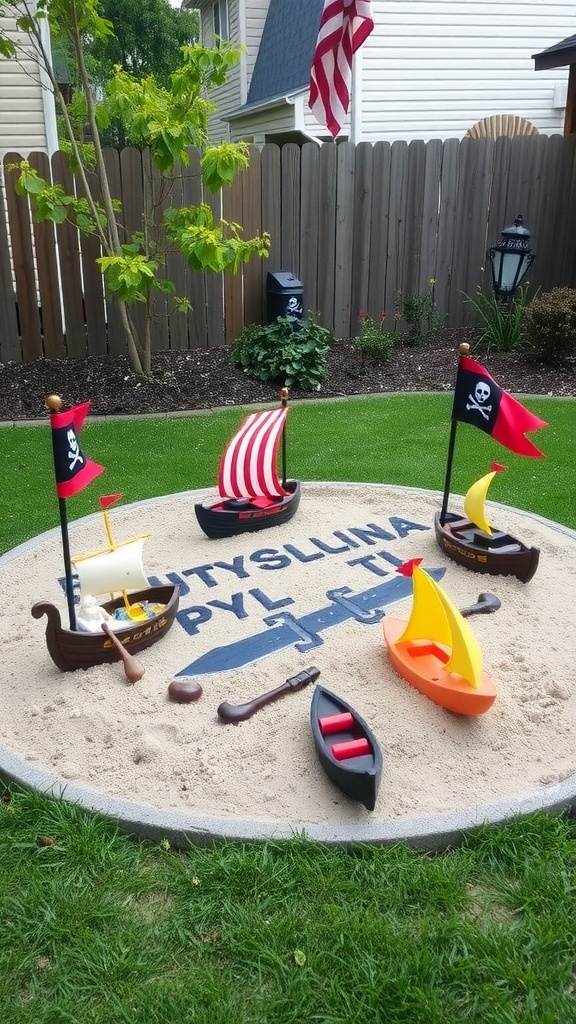
Imagine a sandbox that sparks the imagination! This themed sandbox features colorful toy boats, including pirate ships and sailboats, ready for a day of fun. The sandy area invites children to dig, build, and play, transforming their backyard into a miniature sea adventure.
The vibrant flags on the boats add a touch of excitement, making each play session feel like a journey on the high seas. Children can create their own stories as they sail their vessels, fostering creativity and teamwork.
For an extra special touch, consider adding elements like small treasure chests or plastic sea creatures. This can elevate the play experience, encouraging kids to explore and discover new narratives. Creating a themed sandbox is not just about play; it’s about crafting memories that last.
Maintaining Your Sandbox for Long-term Use
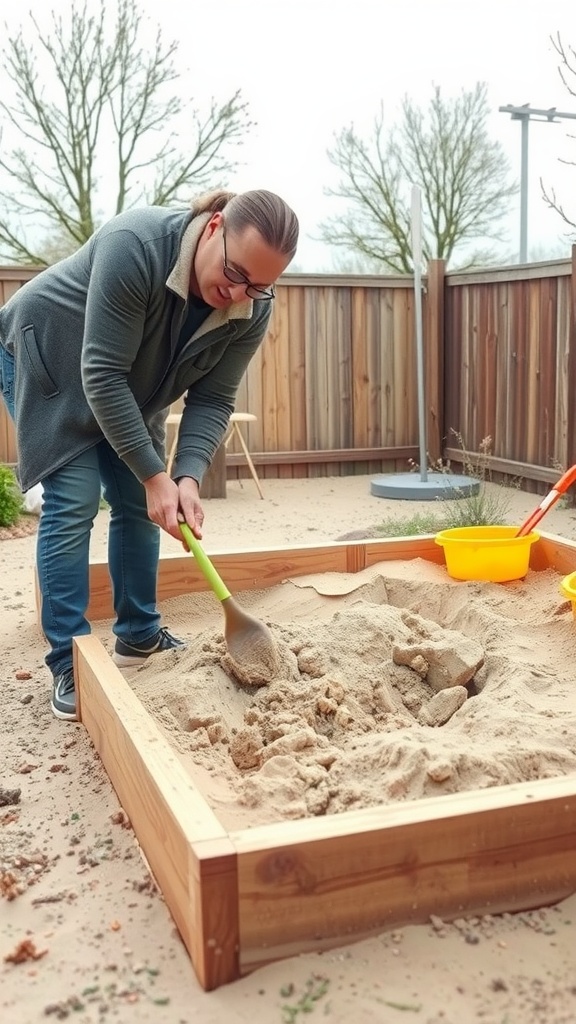
Keeping your sandbox in great shape is key to ensuring endless fun for your kids. In the image, someone is hard at work maintaining a sandbox, showing that a little effort goes a long way.
First, regular cleaning is essential. Rake the sand to remove debris and keep it looking fresh. If you notice the sand getting dirty, consider a complete change. This helps prevent any unwanted pests or mold from taking over.
Next, check for any wear on the edges of the sandbox. Ensure there are no splinters or rough spots that could hurt little hands. Sanding down these areas can make a big difference in safety and enjoyment.
Lastly, consider covering the sandbox when not in use. This can keep out leaves, rain, and unwanted animals. A good cover can also keep the sand dry and ready for play.
Safety Considerations for Sandbox Play
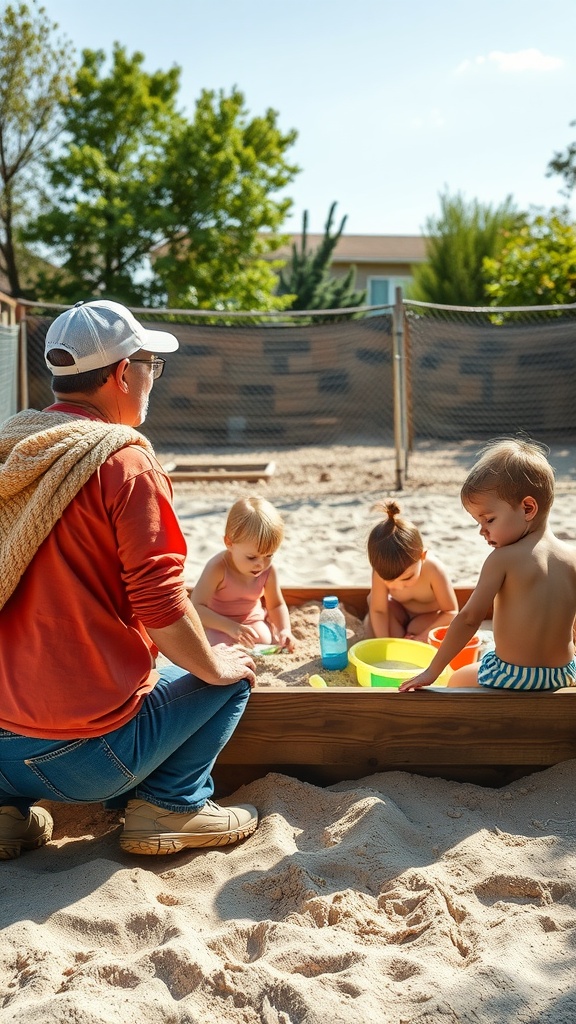
Sandboxes can be a fantastic playground for children, allowing them to explore their creativity and engage in fun activities. In the image, you see kids joyfully digging and building in a sandbox while an adult supervises. This scene highlights the importance of safe play.
First, always ensure the sandbox is clean and free from debris. Regularly check for sharp objects or animal waste that could harm little hands. Keeping the area tidy helps create a safe environment for kids.
Next, consider using non-toxic, safe sand. It’s crucial that children avoid harmful substances. Look for sand specifically labeled as safe for children. You might even want to add a cover to the sandbox when it’s not in use. This keeps animals out and the sand clean.
Supervision is key. Having an adult present while kids play not only ensures safety but also adds to the fun. Encourage them to play together, promoting social skills and teamwork.
Lastly, be mindful of the weather. Avoid letting kids play in extreme heat or cold. If it’s too hot, consider providing shade. This way, playtime remains enjoyable and safe.
Enhancing the Sandbox with Edging Options
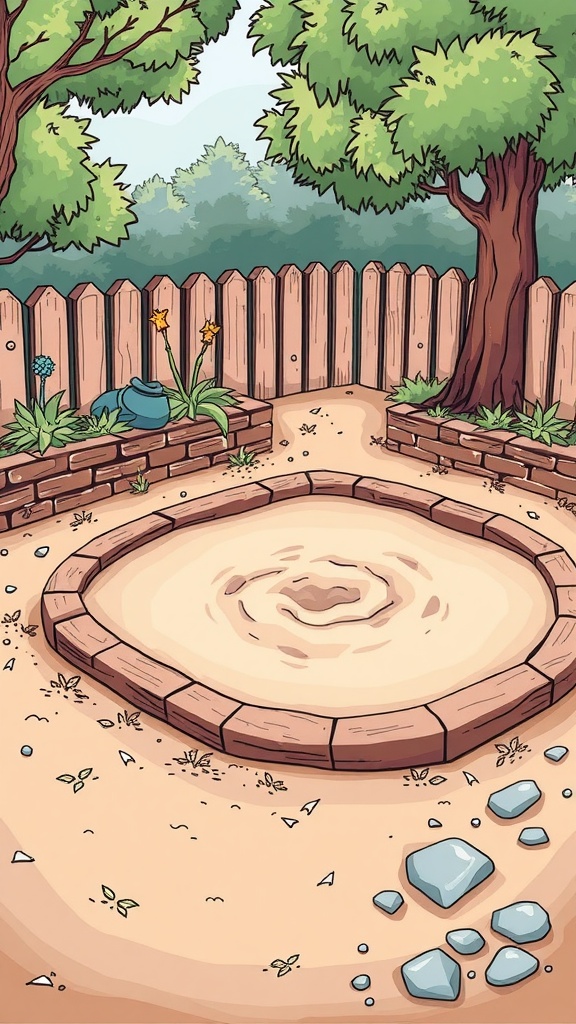
Edging is a simple way to improve your kids’ sandbox. The image shows a circular sandbox bordered by bricks. This not only looks nice but keeps the sand contained. Kids can dig and play without it spilling everywhere.
Bricks, wood, or even stones can work for edging. Each material has a unique look and feel. Bricks are sturdy and add a classic touch. Wood gives a natural vibe, while stones can add an interesting texture.
Besides aesthetic appeal, edging also helps with safety. It can prevent little ones from tripping over loose sand or getting too close to the edges. Plus, it makes it easier to keep the area clean.
Consider adding some fun features, like a small flower bed or a water feature, around the sandbox. This can create a cheerful atmosphere. The image hints at a few flowers and plants nearby, which perfect the outdoor setting.
Community Sandbox Ideas for Neighborhood Fun
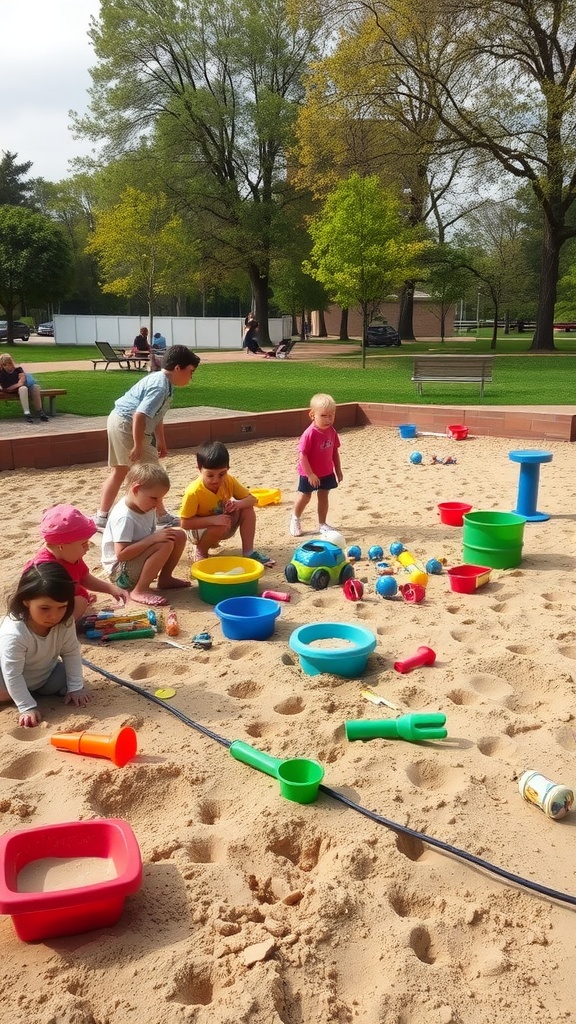
Creating a community sandbox brings joy to kids and encourages social interaction. The image showcases a lively scene where children are playing together in a sandbox filled with colorful toys. This shared space allows them to dig, build, and let their imaginations run wild.
Having a sandbox in your neighborhood is a fantastic way to foster friendships and community spirit. Parents can relax nearby while kids engage in creative play. It’s an opportunity for little ones to learn teamwork and share their toys with others.
Consider organizing clean-up days or themed playdates to keep the sandbox safe and fun. Simple ideas, like adding a few shovels and buckets, can enhance the play experience. Encouraging kids to bring their favorite toys can also make it feel more personal and exciting.
Creative Ways to Shade Your Sandbox
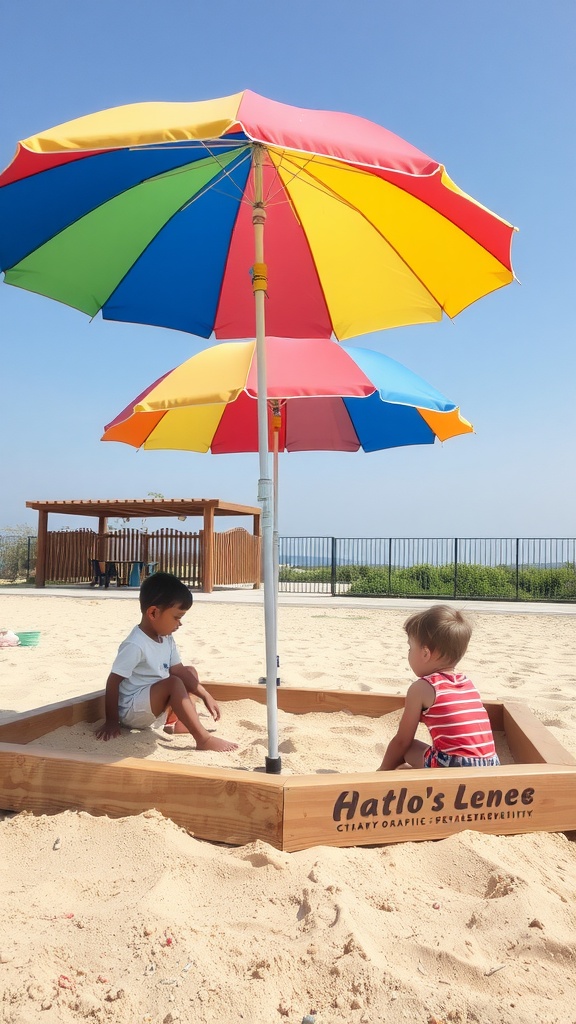
Keeping your kids cool while they play in the sandbox is essential. A fun way to do this is by using colorful umbrellas, just like the ones in the image. These vibrant shades not only provide protection from the sun but also add a playful touch to the sandbox area.
In the picture, you can see two children happily playing in a sandbox sheltered by large, brightly colored umbrellas. The umbrellas create a cheerful atmosphere and make the play area more inviting. This setup allows kids to enjoy their time while staying safe from harsh sunlight.
Another option could be a simple canopy or a tarp strung up between posts. Whatever method you choose, ensure it covers the sandbox adequately to create a cool spot for endless fun.
Involving Kids in the Building Process
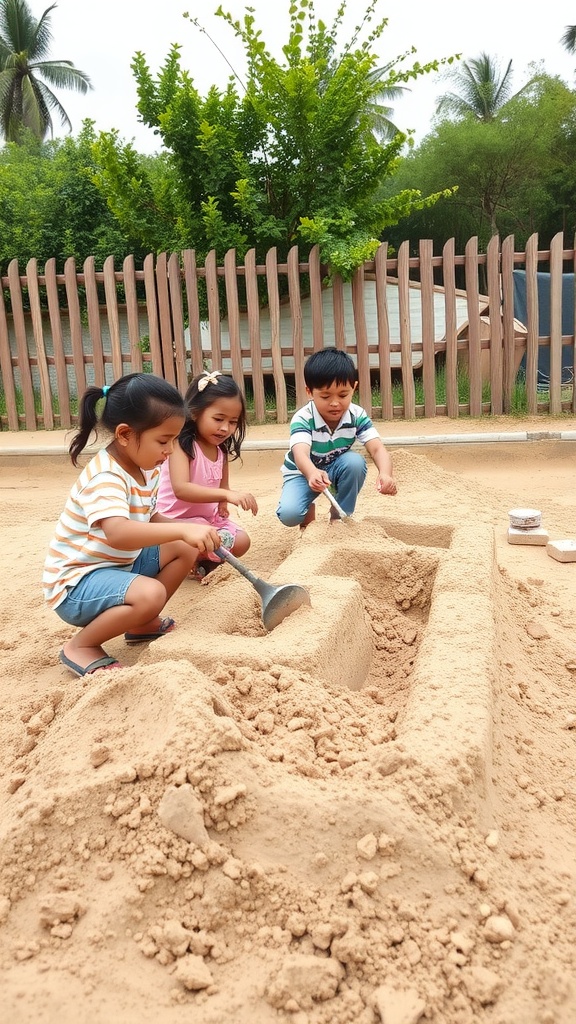
Building a sandbox can be a fun and exciting project, especially when kids get involved. In the image, you see three children happily working together in their new sandbox. They’re not just playing; they’re learning and contributing to something they can enjoy for years.
When you let kids help in the building process, you give them a sense of ownership. They can choose where to place the sandbox and what shape it will be. Involving them in digging and shaping the sand allows them to express their creativity. This can lead to wonderful ideas about how they want to play in it later.
It’s important to have some tools ready, like shovels and buckets. Kids can take turns using these tools, which helps them build teamwork skills. As they dig and shape the sand, they also get to exercise and spend time outdoors. Plus, it’s a great opportunity for parents to bond with their kids, sharing laughs and stories while working together.
Encouraging kids to participate in building creates lasting memories. They will feel proud of their sandbox, knowing they helped make it happen. On top of that, this hands-on experience teaches them about hard work and the joy of creating something from scratch.


